

Why a short colour record is worth making
The purpose is not to prove an exact colour code through a phone. It is to replace broad phrases such as “dark brown” or “not too grey” with a small, comparable set of observations. A useful record lets the recipient see the overall depth, the lighter pieces near the face and the conditions that may have shifted what the camera showed.
Treat the photos as a shared starting point
Start by deciding what you need the colour to do in daily life. You may want it to sit quietly beside your brows, to soften a visibly lighter temple, or to avoid looking too warm under office lighting. Those are appearance preferences, not measurements. Put the preference in one sentence before taking photographs, because it tells the reader which difference in the pictures matters most to you.
A photo becomes more useful when it has a comparison purpose. One image can show the wig’s overall shade, another can show the parting or fringe against your skin, and a third can show any transition from darker roots to lighter lengths. Do not crop so tightly that the background, clothing and surrounding light disappear. Those details help explain why two otherwise similar images may look unlike each other.
The science behind this caution is straightforward: the CIE describes corresponding colours as samples that can give the same colour appearance under different illumination conditions. In everyday terms, light changes what is seen before the phone processes it. The International Commission on Illumination’s CIE 109 report is a useful reminder to record the light rather than assume a shade has changed.
Set the light before you open the camera
Choose one calm lighting situation and keep it unchanged for the full set. Daylight near a window, but out of direct sun, is often practical because it is bright enough to show strands without hard reflections. If daylight is unavailable, use one indoor source and say so. The point is consistency, not claiming that any one lamp is universally neutral.
Avoid mixed light and automatic beauty effects
Turn off portrait retouching, beauty mode, colour filters and any editing preset before you begin. Remove bright coloured scarves or a strongly coloured wall from immediately behind the wig. Place a plain pale or mid-grey background behind it instead. A plain background is not a colour-calibration tool, but it keeps an intense surrounding colour from becoming the first thing the camera tries to balance around.
Do not combine window light with a warm ceiling lamp for the main set. Canon explains that different light sources contain red, green and blue in different proportions, and that uncorrected tungsten can make a white surface look yellow while fluorescent light can make it look green. Its white-balance reference also notes that changing outdoor light may require a new balance. For an enquiry, the practical response is simple: make one set under one condition and label it.
If your phone provides a white-balance control, keep one setting for every photo rather than changing it to make one view look prettier. If it does not, use the standard camera mode and take a second comparison set only after moving to a different location. The second set may reveal a warm or cool cast, but it should be labelled as a comparison, not mixed into the primary record as if the light were the same.
- Use a window-facing position with indirect daylight, or one stated indoor light source.
- Keep the same camera, camera mode, background and position for the full primary set.
- Switch off filters, flash, portrait retouching and automatic beauty adjustments.
- If the light changes, start a newly labelled set instead of continuing the first one.
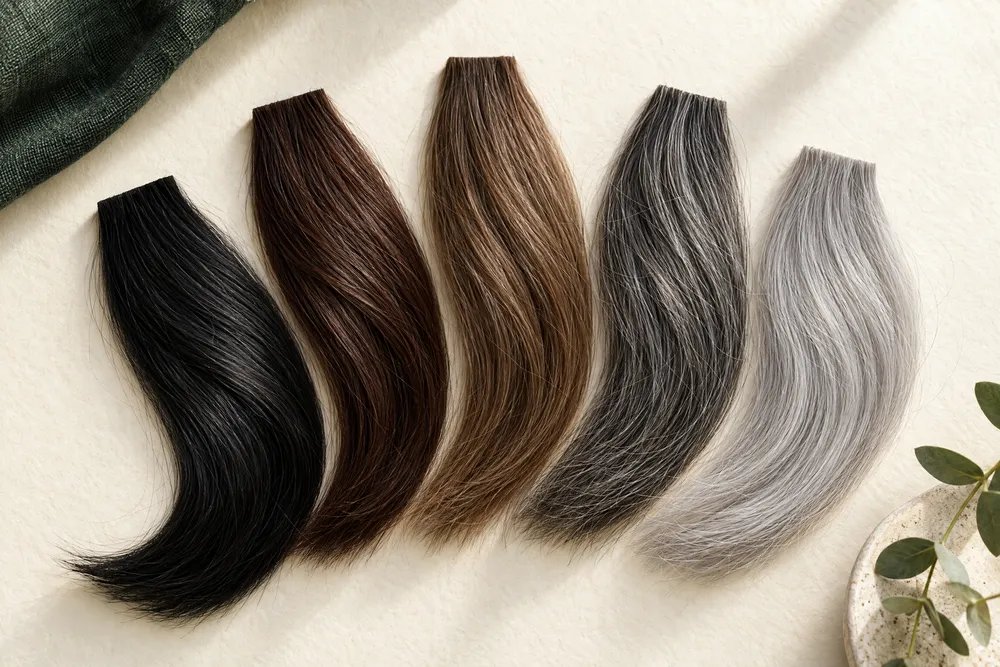
Capture a small set of repeatable views
Use a stand, a clean table or a helper so the wig stays in the intended parting and direction. Comb or arrange it as you expect to wear it before every frame. The aim is not a salon-style image. It is enough coverage for another person to understand the overall depth, the pieces around the face and the detail that prompted your enquiry.
Take wide, transition and close views
First take a straight-on, wider view with the whole wig in frame. This shows the main colour impression and how the shape distributes light. Next, take a three-quarter view of the side that concerns you most, such as a lighter fringe, temple area or curl pattern. Finally, take one closer view of the parting, root area or a selected strand grouping. Keep the phone at roughly the same height and avoid extreme wide-angle distortion.
Add a separate image of your own hair at the area you want the wig colour to relate to, if that is relevant to your preference. Photograph it in the same light and avoid presenting it as a request for an exact digital match. A wig color matching overview can help you put terms such as depth, warmth and grey blending into words before you send the photos.
Make the close view informative rather than microscopic. Focus on a transition that affects the overall impression: a darker root meeting a brown length, a grey strand cluster near the face, or a warmer section by the nape. A single isolated fibre will rarely represent the colour as worn. Include enough surrounding hair to show whether the feature is scattered, repeated or concentrated at an edge.
| Photo | What to keep visible | What it helps clarify |
|---|---|---|
| Overall front | Full shape, parting direction and plain background | The first impression of depth and brightness |
| Three-quarter side | Temple, fringe or face-framing area | Whether lighter or warmer pieces are visible near the face |
| Back or nape | Length and lower layers | Whether the colour reads differently away from the parting |
| Parting or root close view | A small area plus surrounding strands | Root depth, blend and the reason for a specific question |
| Own-hair reference | The relevant natural area in the same light | The appearance relationship you want to discuss, not a screen match |
Make notes that the photographs cannot hold
A photo records a moment, but it does not tell the recipient whether you used a warm bulb, whether the wig was freshly brushed, or whether you are comparing it with coloured hair, greying hair or an existing piece. Add concise notes so the visual information can be read in the context in which you will actually wear the wig.
Write the context beside each set
Give each group a clear label: “window daylight, overcast”, “indoor ceiling light”, or “late-afternoon shaded balcony”. Add whether the wig was dry, brushed and placed in its usual parting. If you wear it with glasses, a fringe or a particular clothing colour often, say which of these matters to your judgement. This information explains the image without pretending to turn a phone photo into a laboratory colour reading.
If your choice may involve seeing samples or discussing different constructions, write that as a separate question. The practical steps for buy wigs in Hong Kong can provide context for a broader selection conversation, but a colour photograph still needs its own notes about light, view and the area you want assessed. Separating the two prevents a general shopping question from obscuring your specific colour concern.
For grey blends, describe distribution before naming a shade. Note whether grey appears as fine threads through a darker base, brighter pieces around the face, or a more even salt-and-pepper effect. The catalogue page for salt and pepper wigs is a useful place to compare terminology, but do not assume the display image proves how a particular shade will read in your room or on your screen.
- Label the light, approximate time and whether more than one source was on.
- State the intended parting and whether the wig was brushed, curled or smoothed for the picture.
- Name the one area that looks too warm, too dark, too flat or too light to you.
- Describe grey as a distribution and contrast pattern, rather than guessing a percentage.
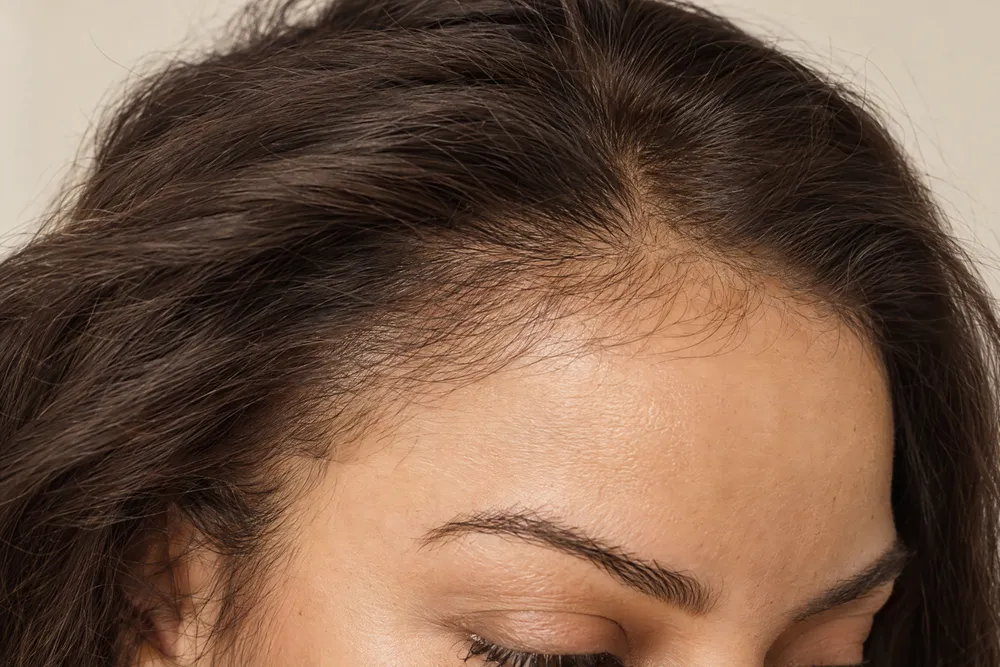
Turn the record into precise enquiry questions
A good enquiry asks for confirmation of a visible point rather than a promise that the image will look identical in every setting. Start with your preferred overall effect, attach the labelled photo set, then ask one question about colour and one about construction or wearing context if it affects the area you photographed. This gives the reply a practical focus.
Ask about the feature shown, not just the colour name
For colour, ask: “In the daylight set, does this read as a neutral brown or a warm brown?” “Is the root visibly deeper than the length?” or “Would the lighter face-framing area remain noticeable from a normal speaking distance?” These questions point to a real visual feature. They also leave room for the answer to say what needs to be checked against the actual item rather than overstating what any online image can establish.
If the parting is in the close photo, make construction a separate question: “Does the visible parting area affect which cap I should compare?” Information about monofilament wigs can help you understand why a cap-construction question differs from a shade question. It does not mean every wig with a natural-looking parting is the same construction, so ask about the particular item you are considering.
If your image is intended to compare coverage at the top rather than an entire wig, describe that boundary plainly. For example: “I need to compare this top area with my own lengths under window light.” Browsing Raquel Welch hair toppers may help frame a topper-specific enquiry, but the brand listing is not evidence that a photographed colour or coverage will suit every wearer.
- Which visible tone should I compare under the labelled daylight set?
- Is the depth at the root different from the length or face-framing pieces?
- Does the photographed parting or coverage area require a separate construction question?
- What should be confirmed against the actual item before I make a selection?
Recognise what photographs cannot settle
Photographs are excellent for showing what you saw and for narrowing the next question. They cannot establish every wearing detail, exact screen-to-object agreement or suitability of an accessory. Keep colour, cap construction, comfort and security as separate lines of enquiry. That makes it less likely that a good image of one feature is mistaken for proof of another.
Use the images to decide the next confirmation
An image may show where a band, clip or liner could sit, but it cannot confirm how any accessory will feel or work with a particular wig. If your photos reveal that the hairline or placement is the concern, begin with the intended use: everyday wear, a specific parting, or avoiding visible pressure at an edge. The selection page for wig accessories Hong Kong is useful for identifying what kinds of accessory questions to ask, rather than treating accessories as a colour correction.
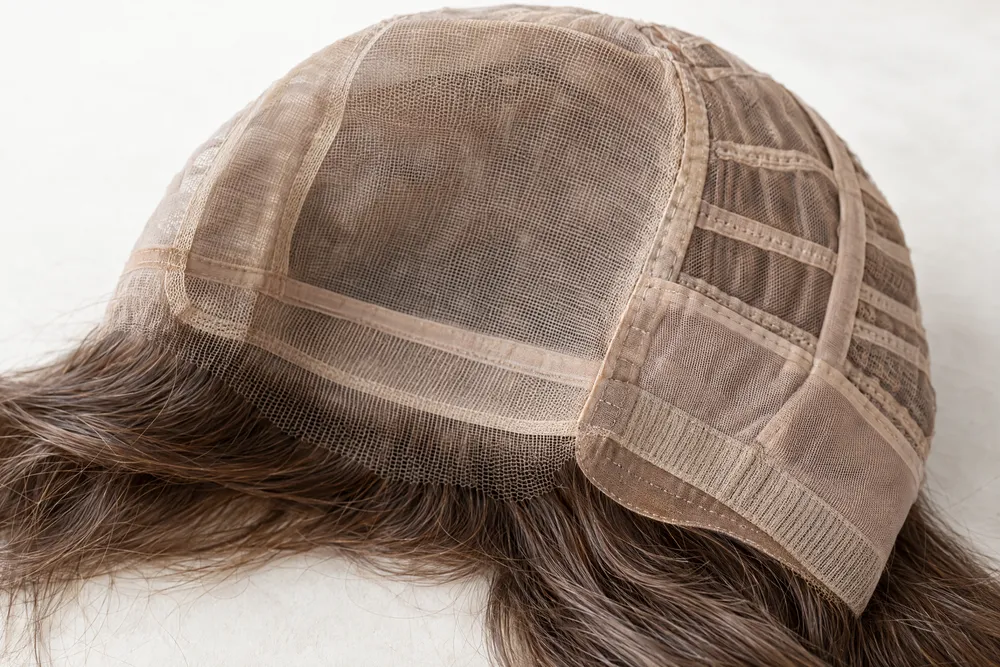
Likewise, a photo of the inside of a cap is most useful when it is paired with a short note about where it sits and what you want to compare. Look at wig caps and liners if you need the vocabulary for an accessory or liner question, but keep the original colour record intact. A liner can change what is beneath the wig; it does not tell a camera how to render brown, grey or rooted tones.
When the enquiry includes keeping a wig in position, describe your wearing routine and the area where movement matters. The product context at wig grip band can help distinguish a grip question from a shade question. Do not infer security, comfort or compatibility from the photo alone. Ask for confirmation based on the actual wig and the accessory under consideration.
Nikon’s guidance makes a related point about images: Auto White Balance is most dependable when the scene has one lighting type and a prominent white or neutral subject; a white-card reading can help in mixed lighting. Its setting-white-balance guide supports a modest practice for phone enquiries: state the light and repeat the shot, rather than assuming an automatic setting has settled the colour question.
- Keep the original, unfiltered files until the enquiry is answered.
- Separate colour questions from cap, liner, grip and comfort questions.
- Ask what must be checked against the actual item, particularly after you notice a screen-to-room difference.
- Repeat the core set if the light, parting or styling changes before you enquire.
| What you observe | Why the image alone is incomplete | A clearer question to send |
|---|---|---|
| The brown looks warmer indoors | The light or automatic white balance may have changed the rendering | In the labelled indoor set, does the shade normally read warm or neutral? |
| The fringe appears lighter near the face | A close crop may not show whether the effect is repeated through the wig | Is the lighter effect face-framing, or part of the overall colour blend? |
| The parting looks different from the lengths | Colour and cap construction are separate characteristics | Can the visible parting and the shade be confirmed separately for this item? |
| Grey strands are most visible at one temple | A single area does not describe the whole distribution | Is the grey concentrated at the face, mixed throughout or mainly shown by this light? |
| A cap or grip is visible in the photo | Placement in one image cannot establish comfort or compatibility | What should I confirm about this accessory with the specific wig? |
Ask OWNSTRAND on WhatsApp
Tell us the style you have in mind. We can discuss the options, quotation and arrangements before you decide.
Ask OWNSTRAND on WhatsAppBefore you choose
Should I photograph a wig colour in direct sunlight?
Direct sunlight can create strong highlights and dark shadows that hide the mid-tone you are trying to discuss. Use bright, indirect daylight for the primary set instead. If direct sun is an important real-life condition for you, take it as a separately labelled comparison set. Tell the recipient which set most resembles how you normally see the wig.
Do I need a professional camera or colour card before an online enquiry?
No. A standard phone camera can provide a useful record when you keep the light, angle and processing consistent. A colour card or camera control may improve a controlled workflow, but it does not remove the need to state the lighting condition and your visual preference. Clear, repeatable pictures plus notes are more useful than an unlabelled technical image.
Can a photo confirm that a wig will match my hair exactly?
No. Screens, lighting, automatic processing and the surrounding colours can all affect what you see. Use the photo to show the relationship you hope to achieve: similar depth, less warmth, a softer root or a particular grey distribution. Then ask which aspects can be confirmed against the actual item before making your decision.
Further reading
- Canon: White Balance: definition and settingsSupports that light sources can produce different colour casts, that cameras may need white-balance adjustment, and that changing outdoor light can require a new setting.
- Nikon: Setting White BalanceSupports the practical limits of Auto White Balance in mixed lighting and the role of a white-card reading when a scene contains more than one light source.
- CIE 109-1994: A method of predicting corresponding colours under different chromatic and illuminance adaptationsSupports the colour-science context that colour appearance can be considered under different illumination conditions; no numerical prediction is applied to wigs.